
There is currently a discrepancy between your YouTube tutorial and the AST tool instructions. The video suggests removing the resistors, soldering a wire, and connecting to P8. However, the AST tool only indicates removal. Furthermore, the provided diagrams are confusing; the red lines suggest removing all resistors and connecting each line, while the black lines suggest connecting all five resistors.
Could you please clarify which connection method should be used? Several other users have raised this same issue on the forum. It would be very helpful if you could update the instructional images or address this confusion directly.
Best regards,
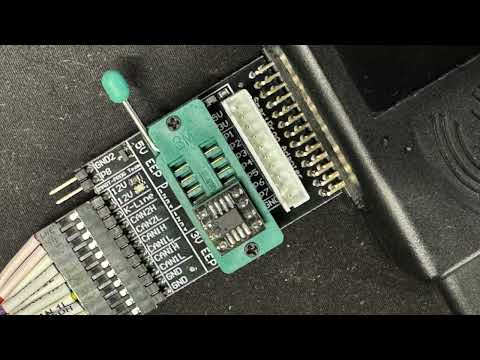
Image 2026-03-15 at 2.48.21 PM.jpg
Could you please clarify which connection method should be used? Several other users have raised this same issue on the forum. It would be very helpful if you could update the instructional images or address this confusion directly.
Best regards,
Image 2026-03-15 at 2.48.21 PM.jpg
 Everything connected well, I checked few times already. Capacitor connected too but can't bypass mcu lock security. This is KEAD 57K30 C
Comment